How to Pre-Wash and Shrink Cotton Fabric Before Cutting Your Pattern
Picture this: you have spent hours meticulously measuring, cutting, and sewing a beautiful new summer dress. It fits perfectly. But after its very first trip through the washing machine, it shrinks by two inches, and the side seams are suddenly twisted. It is a dressmaker’s worst nightmare!
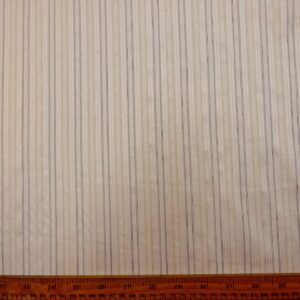
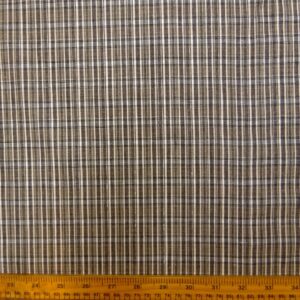
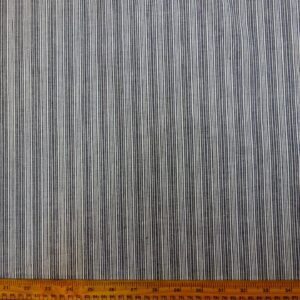
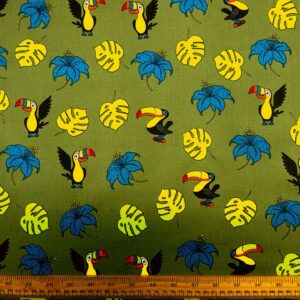
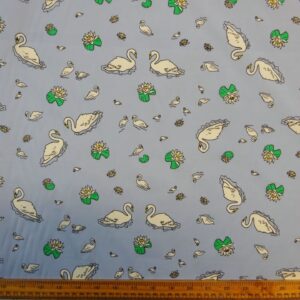
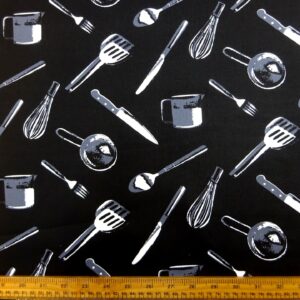
Because it is a natural fibre, all standard woven cotton will shrink slightly the first time it meets warm water and agitation. To prevent heartbreak, the golden rule of dressmaking is to pre-wash your materials. Before you cut your pattern pieces from our beautiful range of cotton fabric by the metre, follow this simple four-step guide to prepare it perfectly.

Step 1: Secure the Raw Edges
When you buy fabric off the roll, the top and bottom edges are left “raw” where they were cut with scissors. If you throw this straight into the washing machine, those raw edges will fray wildly, leaving you with a tangled mess of threads.
Before washing, simply run a quick zigzag stitch or use an overlocker along those two raw cut edges. You do not need to sew the finished “selvedge” edges (the sides with the manufacturer’s text). This is especially important if you are washing deeply coloured or heavily printed cotton fabrics, as it protects the integrity of the design right up to the edge.
Step 2: Wash as You Intend to Wash the Garment
The goal of pre-washing is to force the fabric to do all its shrinking *before* you sew it. Therefore, you should wash the yardage exactly how you plan to wash the finished garment.
- For standard clothing, a 30°C or 40°C machine cycle with standard detergent is perfect.
- Washing also removes the chemical “sizing” (a starch-like substance used in factories to make the fabric look crisp on the roll), making the material softer and kinder to your skin.

Step 3: Dry It Naturally
Avoid throwing your yardage into a scorching hot tumble dryer, as excessive heat can damage the fibres and cause extreme, unnatural shrinkage. Instead, air dry your fabric on a washing line or clothes horse. Try to drape it evenly so it does not dry stretched out of shape.
Step 4: The Final Press
Once your fabric is dry, it will likely look a bit rumpled. You cannot cut an accurate paper pattern out of creased fabric! Set your iron to the “Cotton” setting (medium-to-high heat) and use plenty of steam to press the yardage completely flat.
Ensure you are pressing straight up and down, following the grain of the fabric. Do not drag the iron diagonally across the material, or you risk stretching it out of alignment.
Ready to Start?
Now that your material is washed, dried, and beautifully pressed, it is fully shrunk and ready for your shears. By taking this extra hour of prep time, you guarantee that your handmade garments will fit perfectly wash after wash.